

How to Take Amazing Photos for your Website
So you've decided to take the photos destined for your website. You have a camera (or a good/new smartphone is a reluctant option) and boundless optimism and are ready to get going. Not sure where to begin? Well we have some tips to get you started.
Luckily, taking website photos doesn't require any particular or difficult tricks to pull off. Photography fundamentals apply here just like they do everywhere else, so if you've already got a good eye for photos, those will serve you well.
This list assumes that you have an actual camera to shoot with. If you're attempting to use your smartphone to take them, please read our cynical guide to using your phone to take the pictures.
But no matter your level of experience, there are still some things you'll want to keep in mind. The following is list of the best tips and tricks to get the most out of your own, self-shot photography for your website.
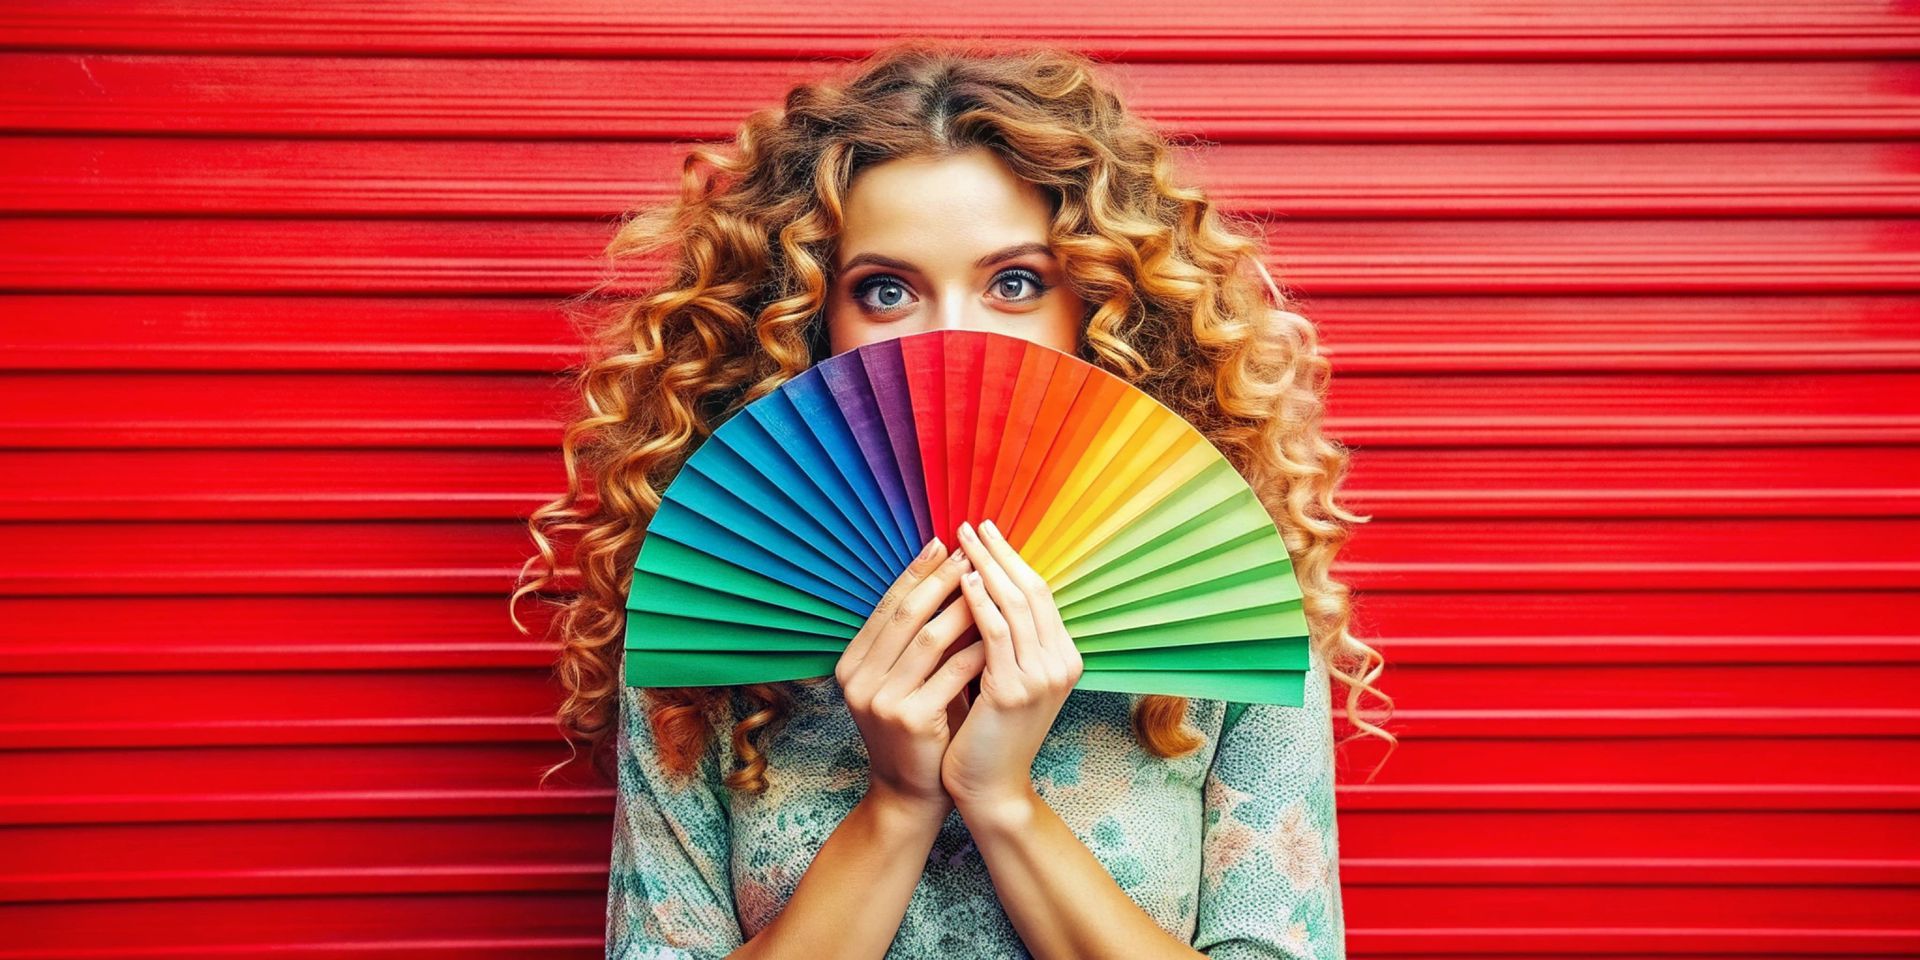
1. Stand further away from your subject than you would normally.
Most modern website design takes advantage of full-width layouts and other wide elements. This generally means using photos that are much wider than they are tall.
Leaving space on the left and right of your subject allows you to use it as a very wide photo, and leaving space above and/or below your subject allows you to crop it to be even wider.
While not every photo needs to be like that, taking a handful that are gives you tremendous flexibility when adding them in to the website. Believe me when I say that it can be very frustrating as a website designer not having any photos that will work in a wide format. Save yourself that headache and back up a bit for some of the shots.
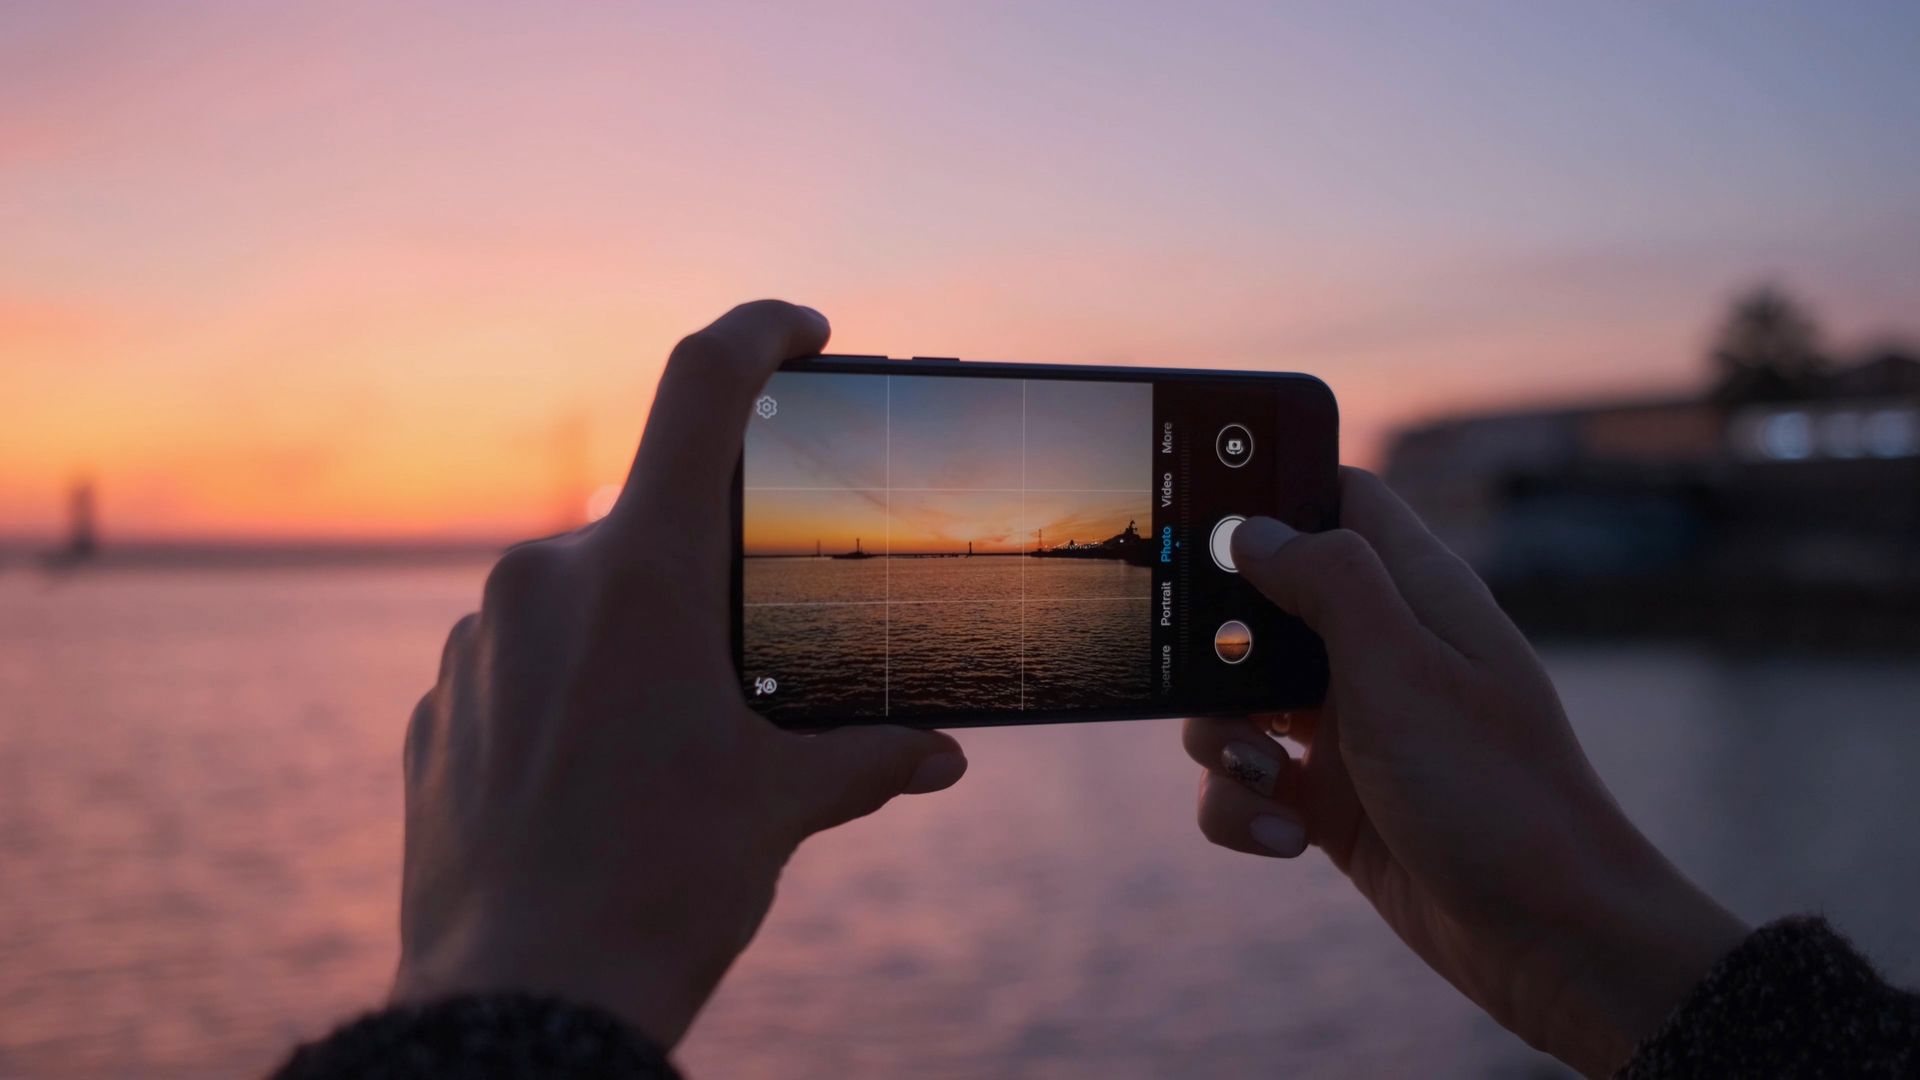
2. Shoot in Landscape
Most of the time you are going to want to use your phone in landscape orientation, not portrait. This is particularly true if you are taking pictures of buildings, scenery, or really any scene other than a single person. If you’re not sure what the names mean, just remember that one is wide and great for pictures of landscapes and one is tall and only suited for portraits. I’ll give you two guesses which is which.
Portrait should be reserved for really tall things that you can’t fit otherwise, things you want to display tall and skinny on the site, and sometimes, you guessed it: portraits of individual people.
As for video, always shoot in landscape. And that goes for more than just for websites; whether you are sending a Snapchat of your kid’s birthday cake or trying to shoot a commercial, it virtually never makes sense to shoot video in portrait orientation.
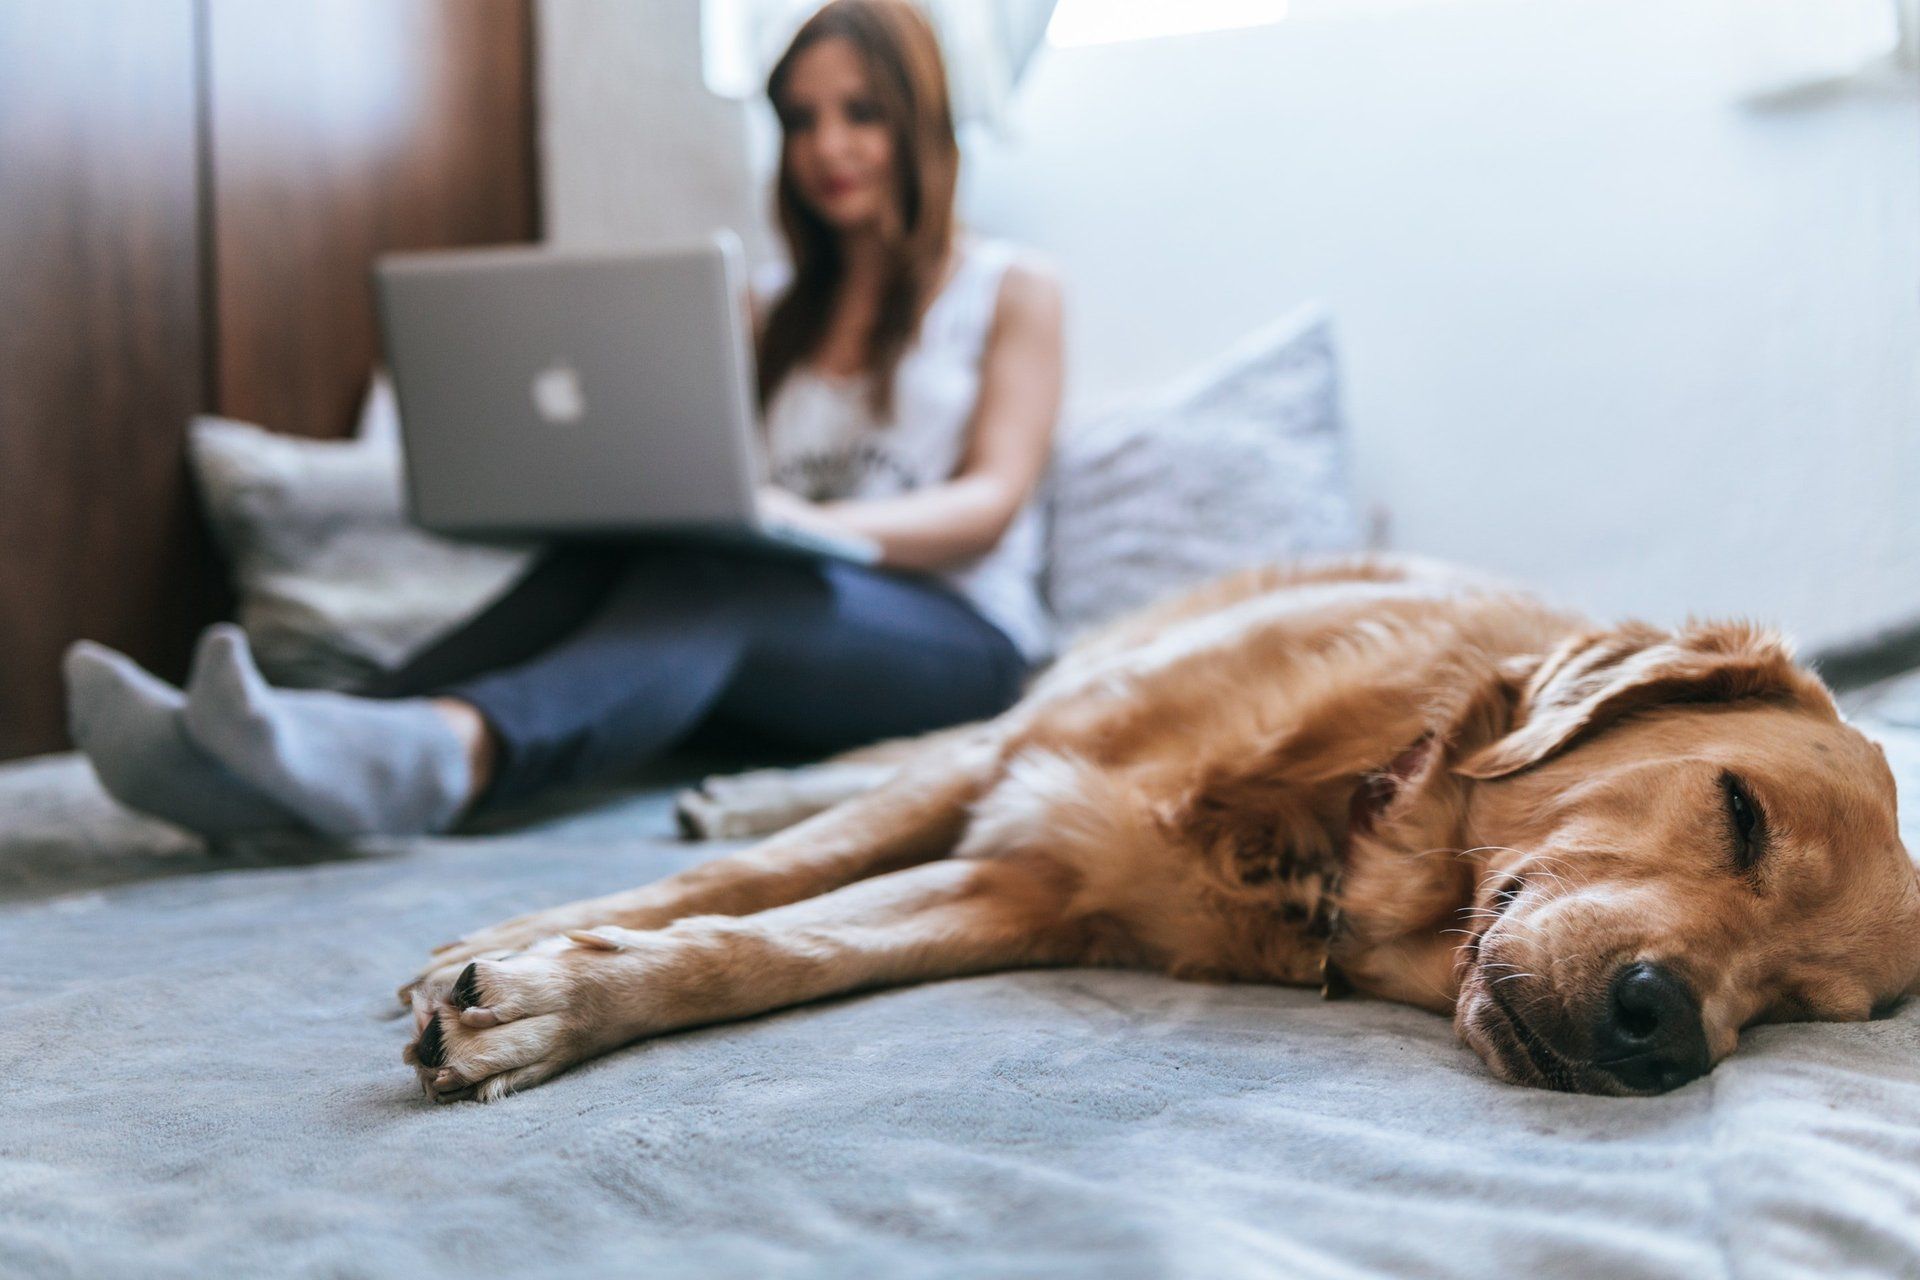
3. Use low ISO, wide aperture, and a Tripod.
For those of you who know more about photography, these instructions are clearly simplified. But in general they are good guidelines. These will allow you to get the sharpest, most professional-looking photographs possible. Here's why.
Low ISO
High ISO values may brighten up your image, all else being equal, but they tend to introduce a large amount of noise, making your images look grainy and unsharp. It can vary wildly by camera model, but most modern cameras should have no problem with ISO values below about 500.
Wide Aperture
Using the widest aperture available to your lens (or lowest number f-stop, such as f/2.0 if available) allows your lens to take in the maximum amount of light, which further allows you to use lower ISO values and faster shutter speeds.
But most importantly, in our case, it creates a shallower depth-of-field, which generally looks more artistic and professional when you're taking pictures of people or objects. However, if you're taking a picture of something that requires a deep depth-of-field such as a building interior, landscape scene, or anything else where the subject occupies multiple depths, you may want to just use a smaller aperture (greater number) and a longer shutter speed to get everything in focus.
Tripod
Using a tripod allows you to use any shutter speed you want without having to worry about a blurred photo. It's necessary if you're shooting at night or in low-light settings such as indoors with artificial light. Probably not necessary outdoors during the daytime though.